How a Moroccan lamp is hand-pierced
From a paper pattern to thousands of punched holes: the six stages of making a pierced brass lamp by hand, and why no two come out the same.
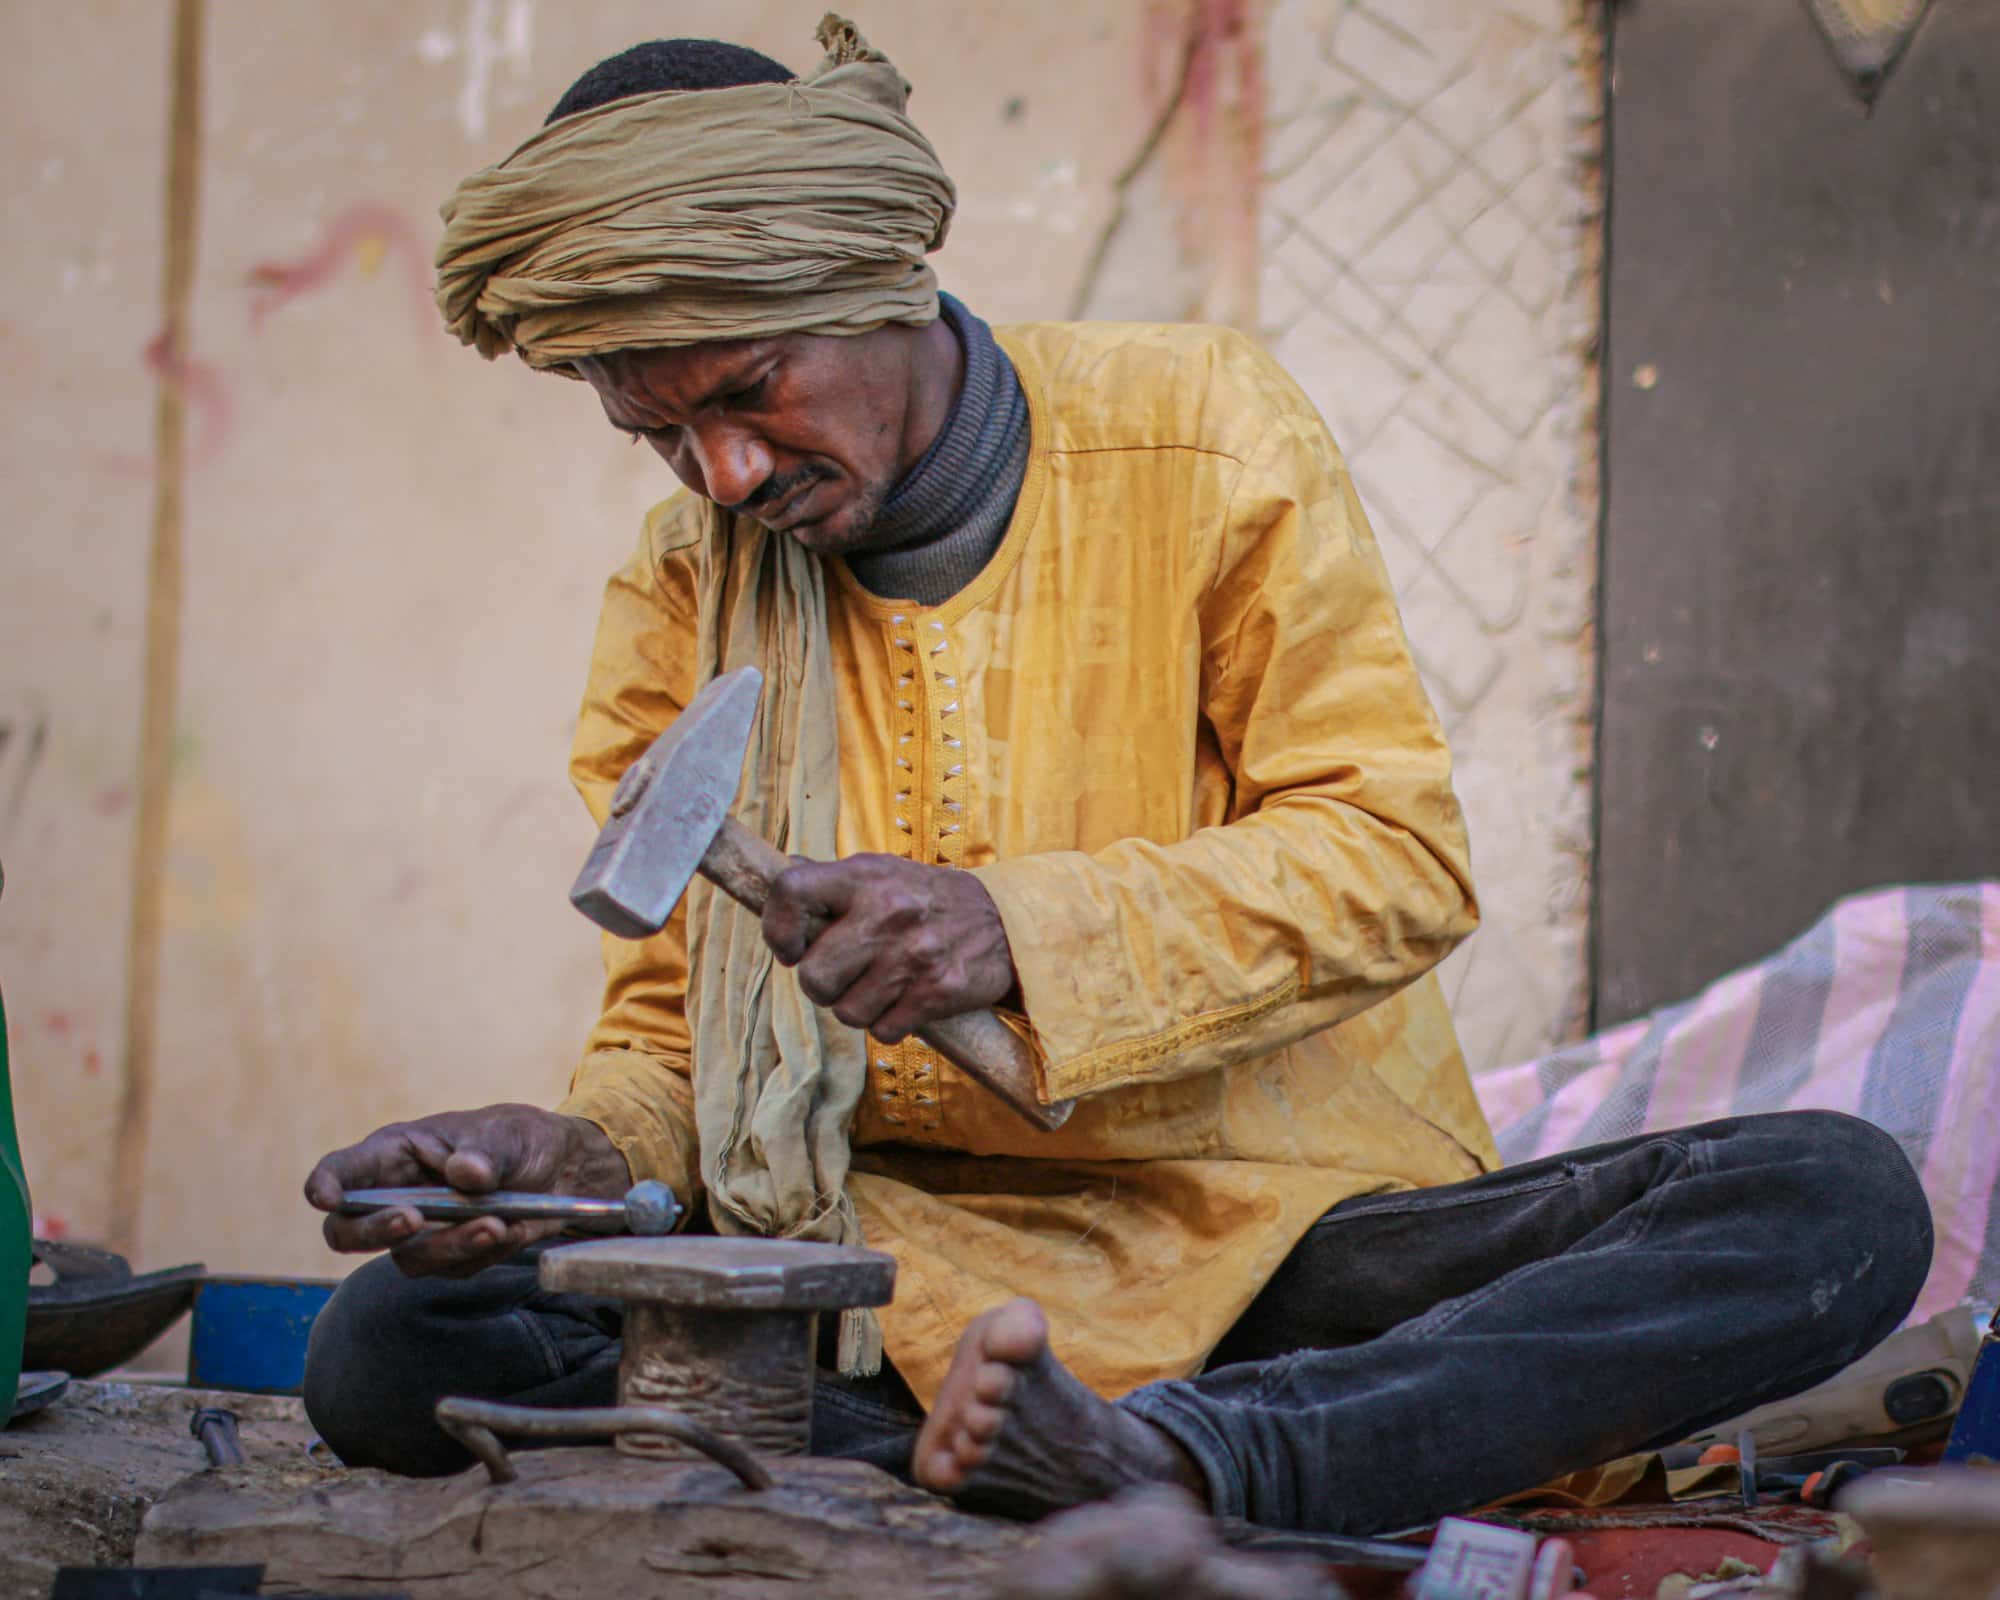
A Moroccan lamp is pierced by hand: the pattern is drawn onto sheet brass and punched through it, one opening at a time, with small steel chisels and a hammer. There is no machine in the process until the wiring. This is how it goes in our workshop, and in most of the ones that still work this way.
It is one of several techniques in the wider craft — the others are covered in our guide to Moroccan metalwork.
1. The pattern
Every lamp starts as a drawing on paper, full size, one sheet per panel. The geometry is laid out with compass and ruler first — the stars and interlaced polygons that come from zellij tilework — and the floral fill is drawn in freehand afterwards.
A panel pattern for a large chandelier can take a full day. It is the only stage done once per design rather than once per lamp.
2. Cutting the sheet
Brass sheet is cut to the outline of each panel with shears, and the edges filed. For lamps we use thinner sheet than for bowls or trays: thin enough to punch cleanly, thick enough to hold its shape once formed. Too thin and the lamp dents when you dust it; too thick and every hole takes two blows instead of one.
3. Transferring the pattern
The paper pattern is fixed to the sheet and the lines are marked through onto the metal. From here on the paper is gone and the metal carries the design.
4. Punching
This is most of the time.
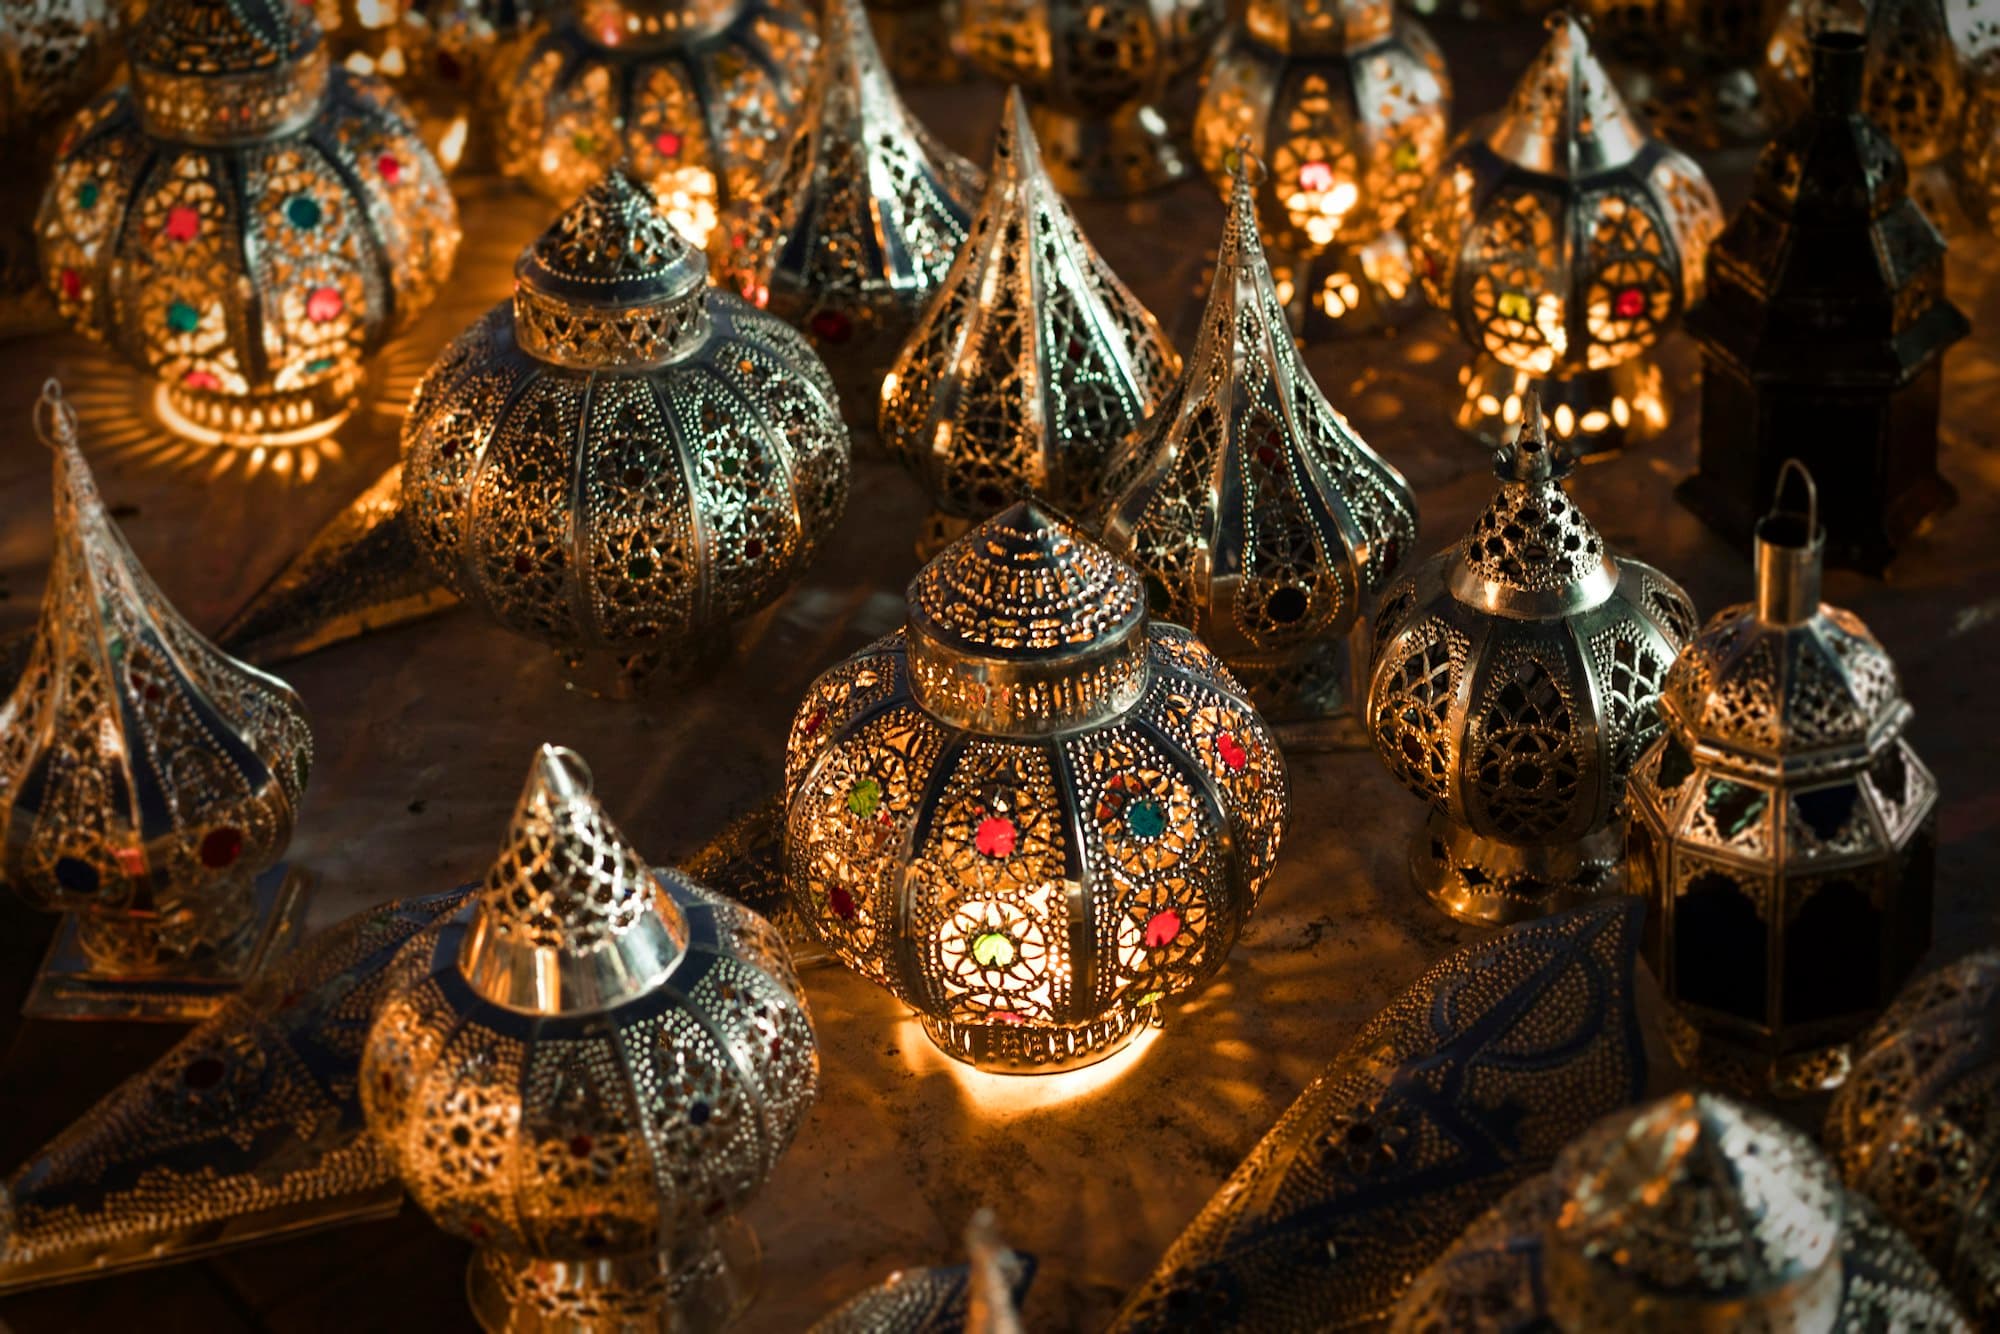
The panel lies on a hard support. The maker holds a punch upright on the line, strikes it once with a light hammer, lifts it, moves it along, strikes again. Each punch has a different tip — a round dot, a teardrop, a crescent, a short straight blade — and the pattern is built from the order in which they are used. A large panel takes thousands of blows.
The rhythm matters more than the strength. A maker who is tired strikes unevenly, and uneven strikes show as holes of slightly different depth. It is why piercing is done in the morning in our workshop, and why nobody punches for a full day.
5. Forming and assembly
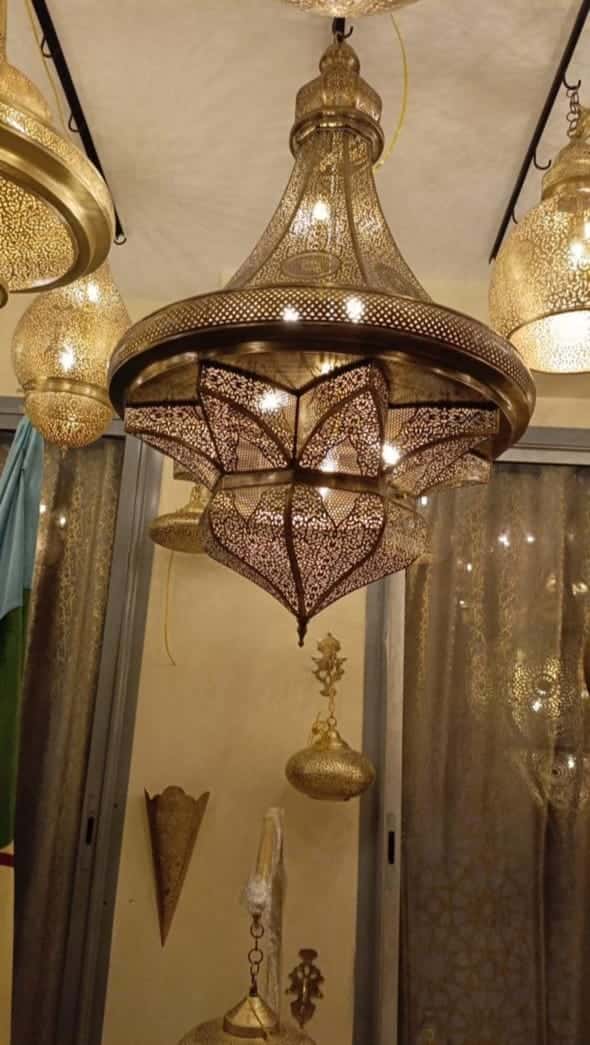
The flat panels are bent to their curve over a former, then joined — by rivets, by folded tabs, or by soldering where the joint takes no load. On our Star chandelier the conical crown and the star-shaped base are made as separate assemblies and joined at the wide brass band between them.
6. Finishing and wiring
The piece is cleaned of marking and handling, the burrs on the inside faces are left (they catch the light), and the lamp is either left bare or given a thin coat of wax. Then it is wired, with the lamp holders placed so the bulbs sit centrally in each chamber.
Why no two are alike
Every opening is a separate blow, placed by eye on a line. Over thousands of blows, the spacing drifts a fraction and some holes sit a little deeper than others. Laid next to each other, two lamps from the same pattern are visibly the same design and very slightly different objects.
That variation is also how you tell a hand-pierced lamp from a machine-cut one — the five checks are here. And the light it throws depends as much on the bulb as on the piercing: see which bulb to use.
Back to the complete guide to Moroccan brass lamps.
Questions people ask
- What tools are used to pierce a Moroccan lamp?
- A set of small hardened-steel punches and chisels, each with a differently shaped tip — dots, teardrops, crescents, short straight cuts — a light hammer, and a hard support underneath the sheet.
- How long does it take to make a Moroccan lamp?
- A small lantern can be pierced in a day. A large chandelier with several panels takes days of punching alone, before forming, assembly and wiring.
- Are Moroccan lamps laser cut?
- Many sold today are. Laser cutting is fast and perfectly regular. A hand-pierced lamp is recognisable by small variations between the openings and by a slight burr on the inside of each hole.
- piercing
- moroccan lamps
- process
- brass